Make comics with AI,
one panel at a time.
ToonMill connects character, line art, flat color, shading and retouching tools for comic, manga and webtoon artists. Start with your own sketch or source image, reduce repetitive work and carry the result into your next panel.
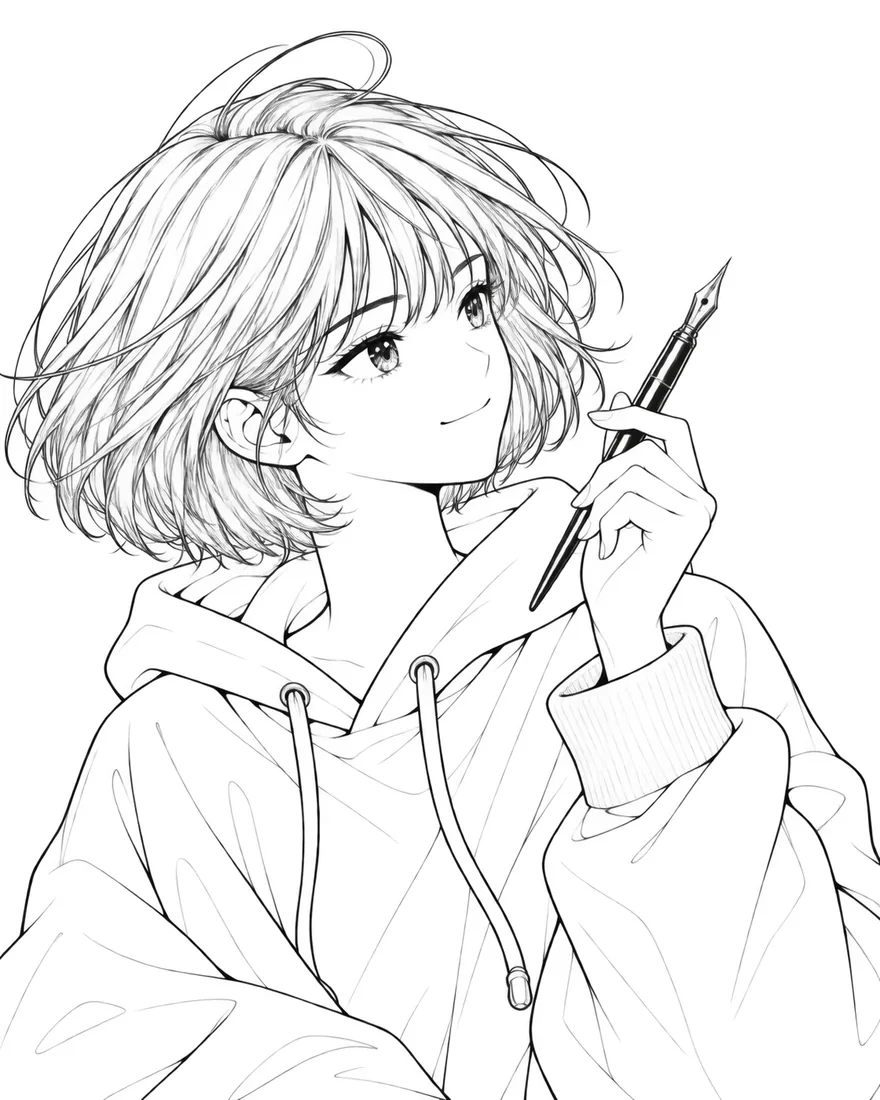
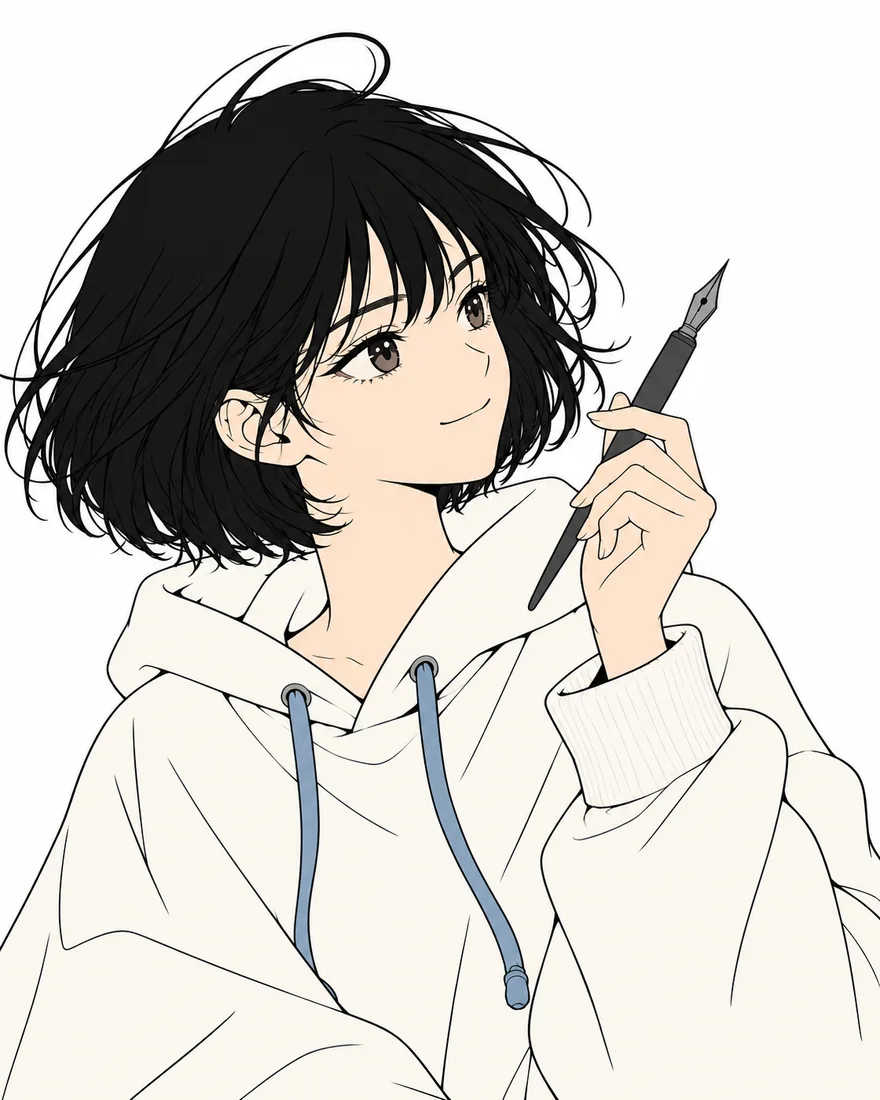
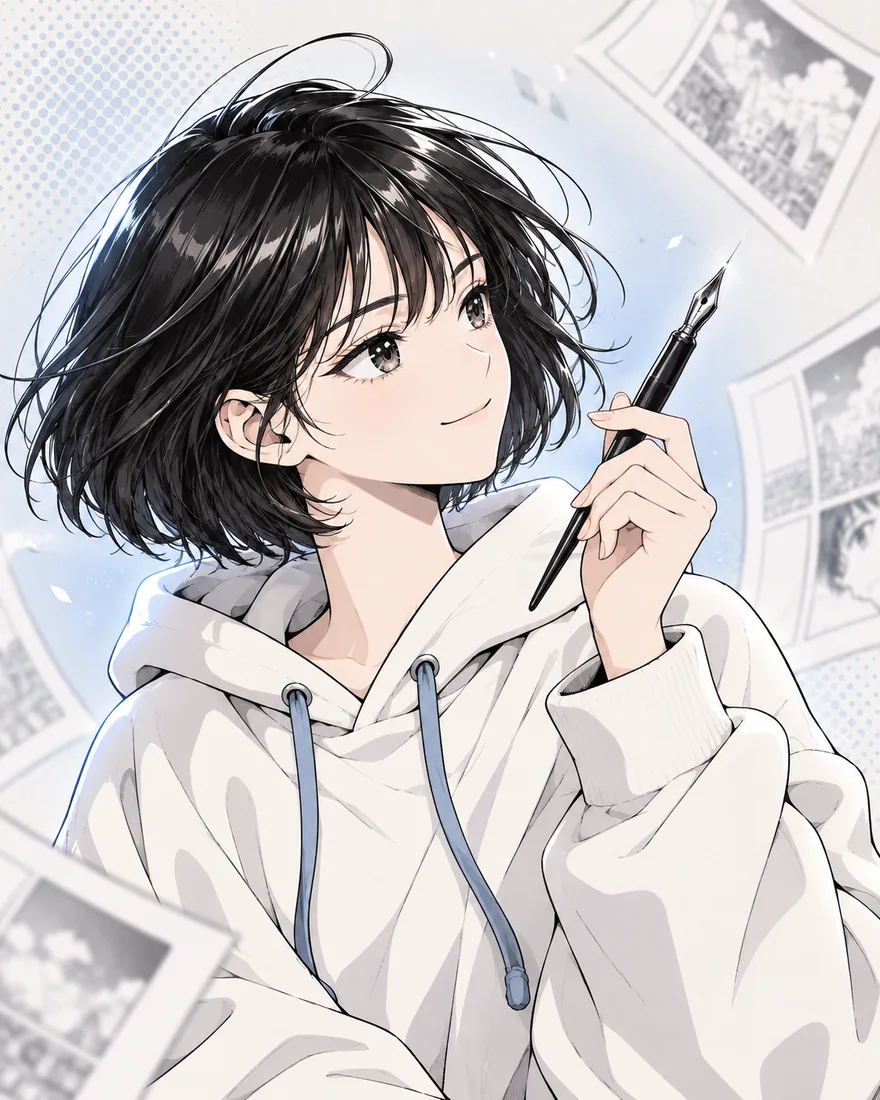
First, prepare one panel.
Learn the workflow with a panel featuring one character before tackling a whole episode. You decide the story, panel composition and dialogue, then choose the image tasks that ToonMill can help with.
- A sketch or source image you drew or have permission to use
- A character reference with a clear face and outfit
- An existing background and a plan for the panel's composition
Six steps to making comics with AI
Choose the scene and source
Imagine a panel where your protagonist looks back in an alley. Sketch the character's position, gaze and the space for the background first. This source sets the direction for the tools you use next.
- Prepare a PNG, JPG or WEBP and check the upload size limit shown by each tool.
- Use one panel to establish line weight and color before trying several panels.
Check before moving onKeep the face, hands and important background details inside the frame.
Establish your character reference
Use a character sheet to organize expressions, poses and outfits for future panels. Adjust the pose for the scene with the pose tool, then use expression controls for emotion and gaze.
- Prepare a reference image and choose the character sheet layout you need.
- Use a pose reference or a 3D model for posture, then adjust expression and face direction.
Check before moving onCompare the face, hair and clothing with the reference, and edit details that need correction.
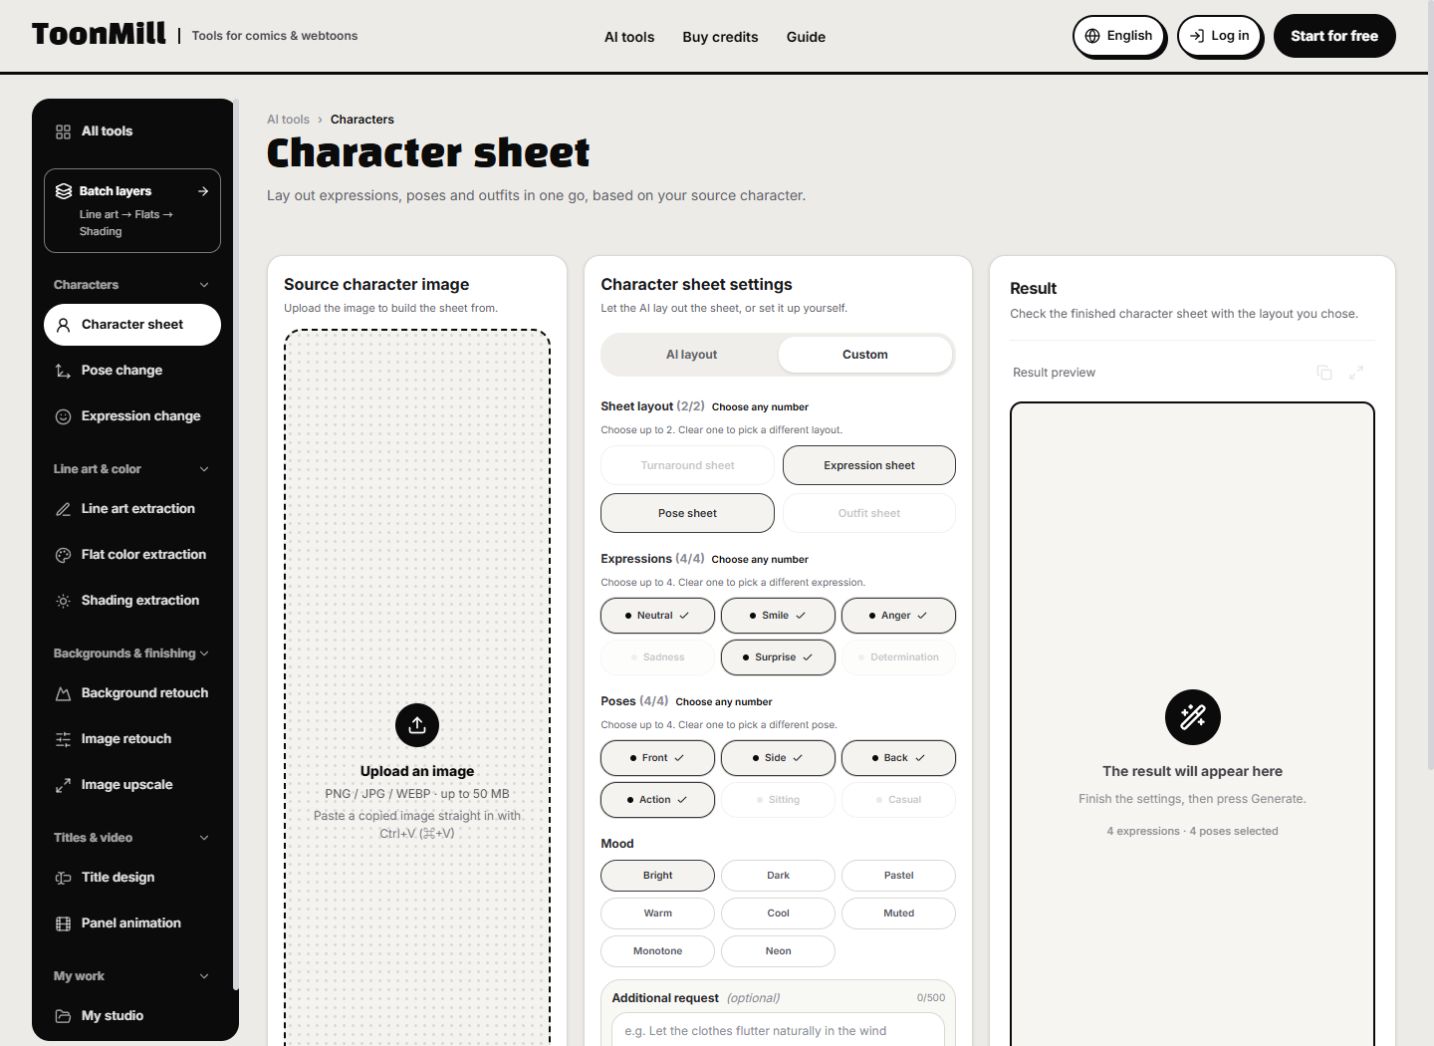
Current character sheet expression and pose settingsCurrent tool UI · Click to enlarge Separate line art, flats and shading
Clean overlapping strokes and construction lines with line art extraction. Use the flat color tool to separate color fills from artwork containing line art and adjust the palette. Set the light direction and shadow steps with the shading tool.
- Inspect the PNG line art result, especially faces, hands and intersecting lines.
- Check color boundaries and match the character's lighting to the background.
- For a connected sequence, choose your source and required steps in the batch layer tool.
Check before moving onReview each result before using it in the next task. Batch layer generation uses credits for each selected step.
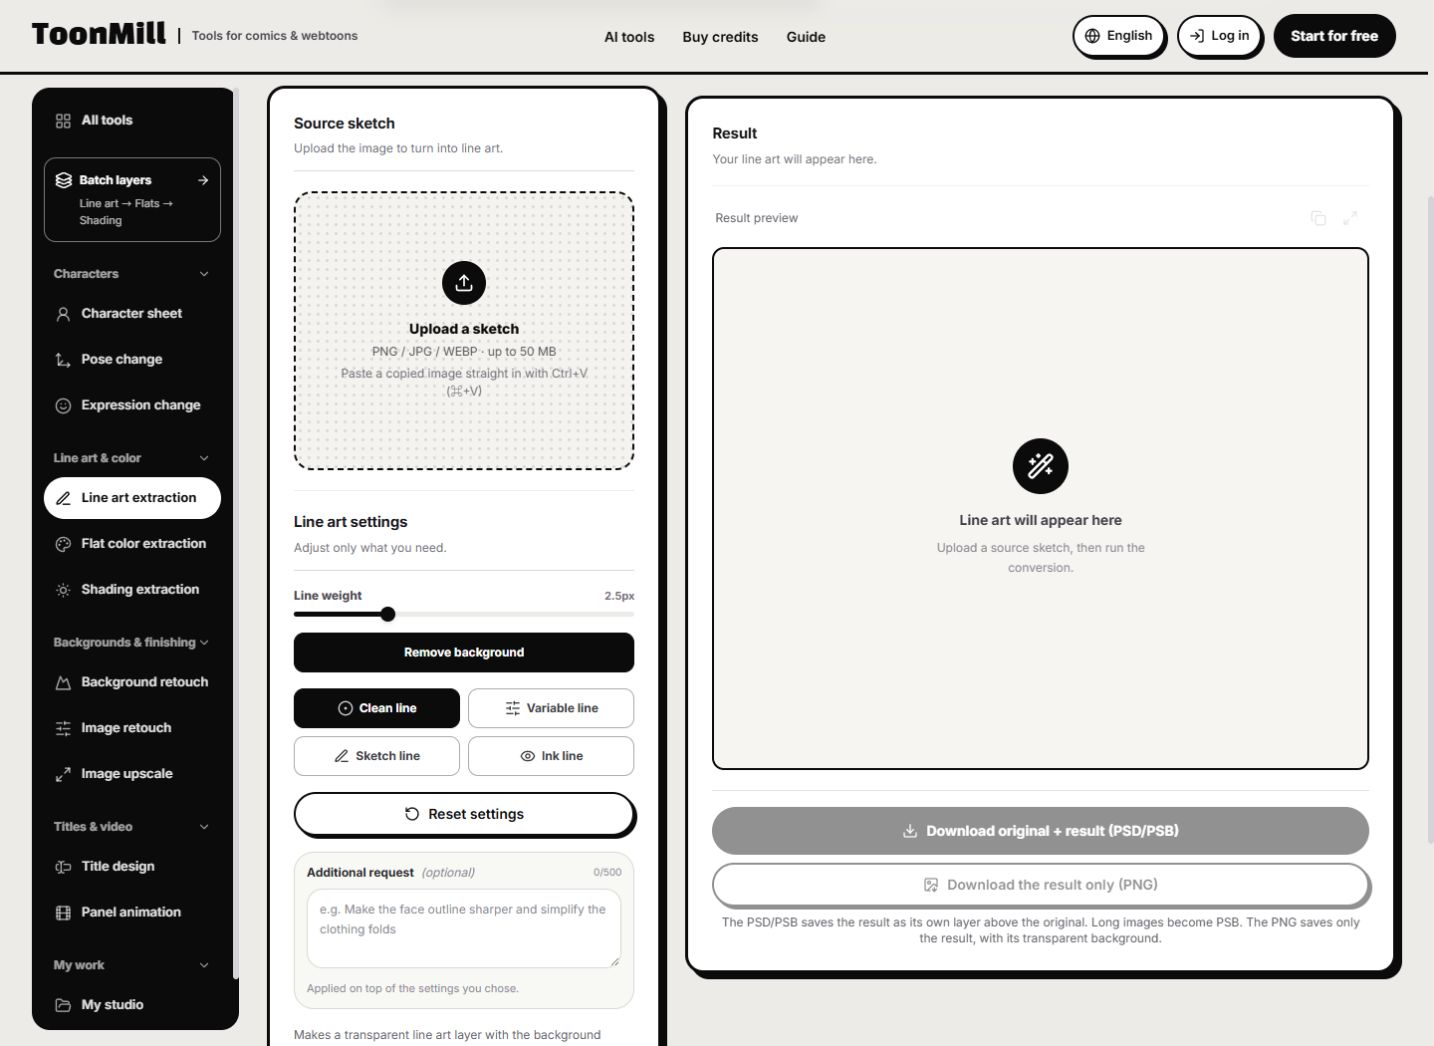
Current line weight and style controlsCurrent tool UI · Click to enlarge Match the existing background
Upload the alley background you prepared and adjust its color and lighting to suit the character. ToonMill retouches an existing background while preserving its composition and aspect ratio, so prepare the scene image first.
- Upload the background to edit and choose the mood and adjustments you need.
- Compare light direction, contrast and color temperature across the character and background.
Check before moving onCheck that buildings, objects and composition are retained. This tool does not create a new location or change the aspect ratio.
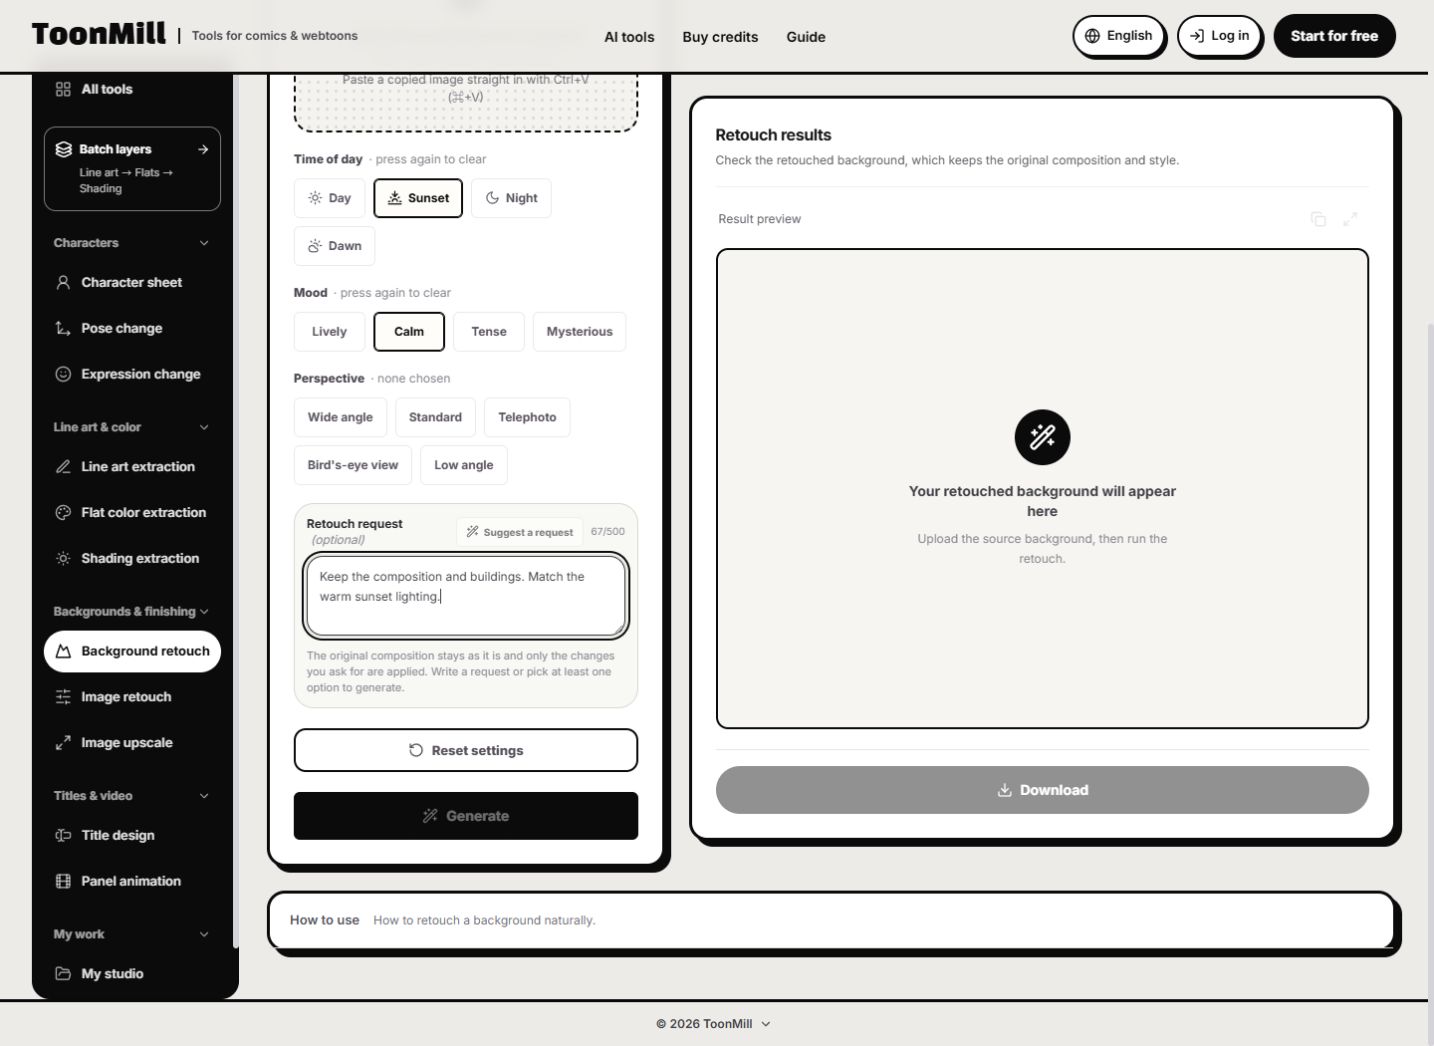
Current background time, mood and retouching controlsCurrent tool UI · Click to enlarge Retouch and check resolution
Refine a nearly finished panel with image retouching: adjust color, details and the effects it needs. When you need a larger image, choose 2× or 4× enlargement with the upscaler.
- Choose the area or effect to adjust and compare the result with the original.
- Zoom in on eyes, fingers, small lettering and line endings after upscaling.
Check before moving onEnlargement does not make every detail accurate. Review drawing and lettering before adding the result to your final artwork.
Save and continue drawing
Find and download completed results in your studio. Batch layer generation provides a PSD with separate line art, flat color and shading layers, ready to continue in Clip Studio Paint or Photoshop.
- Save results with the PNG or PSD download option provided by the tool.
- Arrange panels, balloons and dialogue in your drawing app, then review the final artwork.
- If you need title lettering, choose the series title and mood and explore designs in the title tool.
Check before moving onNot every tool exports PSD. Standalone line art is PNG; use the PSD button in the features that support it.
Questions about AI comic production
What should I look for in an AI comic tool?
Check whether it works with your own source images, lets you choose individual production steps and exports useful formats. ToonMill offers character, line art, flat color, shading, background and finishing tools. Check the quality setting and credit cost on the generate button before starting.
Does typing a story automatically create a complete comic?
ToonMill helps with production tasks using artwork and images you prepare. You remain responsible for the story, panel composition, dialogue and final review. This guide focuses on reducing repetitive work within a panel.
Can a beginner get started?
Start with one source image and one tool. Use line art for a rough sketch, or retouching for a nearly finished image. You do not have to run every step in order.
Can I try it for free?
You can begin with the trial credits provided after signup. Check your account for the actual balance and the generate button for each task's cost. Costs depend on the tool, quality and selected steps; generation is not unlimited or always free.
Can I continue in Clip Studio Paint or Photoshop?
Open the PSD from batch layer generation to work with the original and generated layers. You can also download individual image results and place them in your artwork. Arrange panels, speech balloons and dialogue in your drawing app.